https://github.com/william-murray1204/stable-diffusion-cpp-python
해당 라이브러리를 사용하면 stablediffusion-cpp를 python에서도 사용할 수 있다.
stablediffusion-cpp는 기존의 gpu가 필수 불가결했던 stablediffusion을 cpu에서도 구동가능하도록 c++언어로 구현한 것인데 이를 python에서 호출 할 수 있는 바인딩이 있는 것이다.
git clone --recurse-submodules https://github.com/leejet/stable-diffusion.cpp.git
#CUDA 12.4 버전을 기준으로 작성되었습니다.
cmake . -DSD_CUDA=ON -DCMAKE_GENERATOR_TOOLSET="cuda=C:/Program Files/NVIDIA GPU Computing Toolkit/CUDA/v12.4" -DCMAKE_CUDA_ARCHITECTURES=86

일단 다음과 같이 stablediffusion-cpp를 컴파일 하여 python binding을 사용할 수 있는지 확인해보기로 했다.
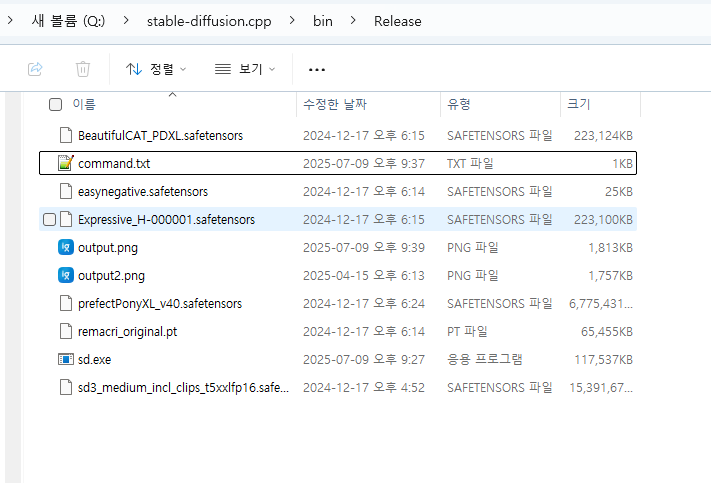
./sd -m ./sd3_medium_incl_clips_t5xxlfp16.safetensors –cfg-scale 5 –steps 30 –sampling-method euler -H 1024 -W 1024 –seed 42 -p “fantasy medieval village world inside a glass sphere , high detail, fantasy, realistic, light effect, hyper detail, volumetric lighting, cinematic, macro, depth of field, blur, red light and clouds from the back, highly detailed epic cinematic concept art cg render made in maya, blender and photoshop, octane render, excellent composition, dynamic dramatic cinematic lighting, aesthetic, very inspirational, world inside a glass sphere by james gurney by artgerm with james jean, joe fenton and tristan eaton by ross tran, fine details, 4k resolution”
다음과 같이 명령어를 입력해주면

다음과 같이 멋진 사진이 나오게 된다.
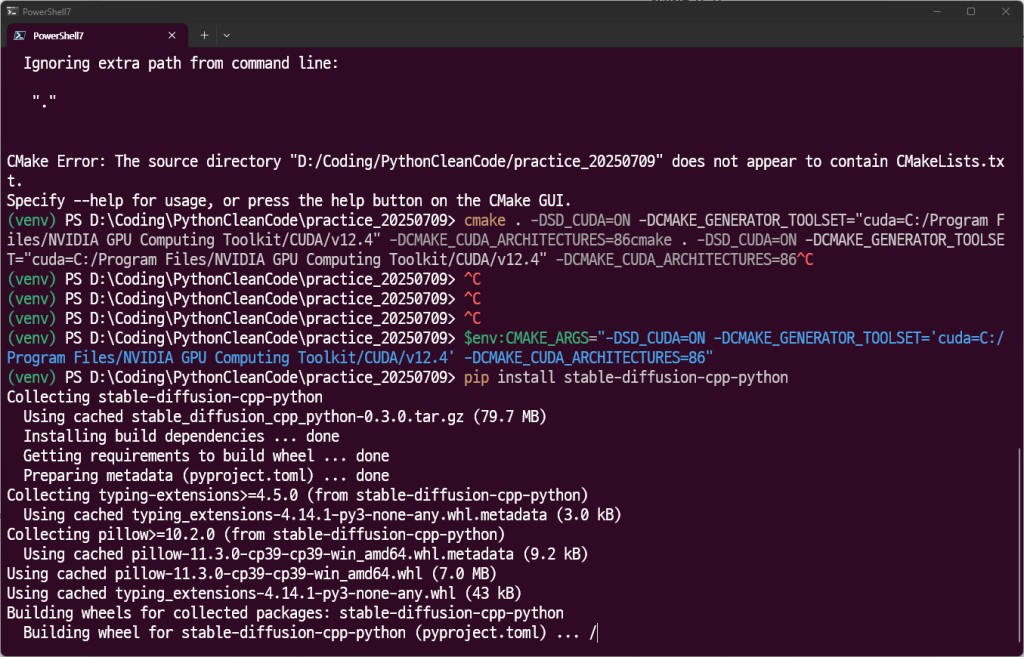
이제 python binding을 설치할 차례이다.
$env:CMAKE_ARGS="-DSD_CUDA=ON -DCMAKE_GENERATOR_TOOLSET='cuda=C:/Program Files/NVIDIA GPU Computing Toolkit/CUDA/v12.4' -DCMAKE_CUDA_ARCHITECTURES=86"
pip install stable-diffusion-cpp-python
와 같이 입력하면 된다.
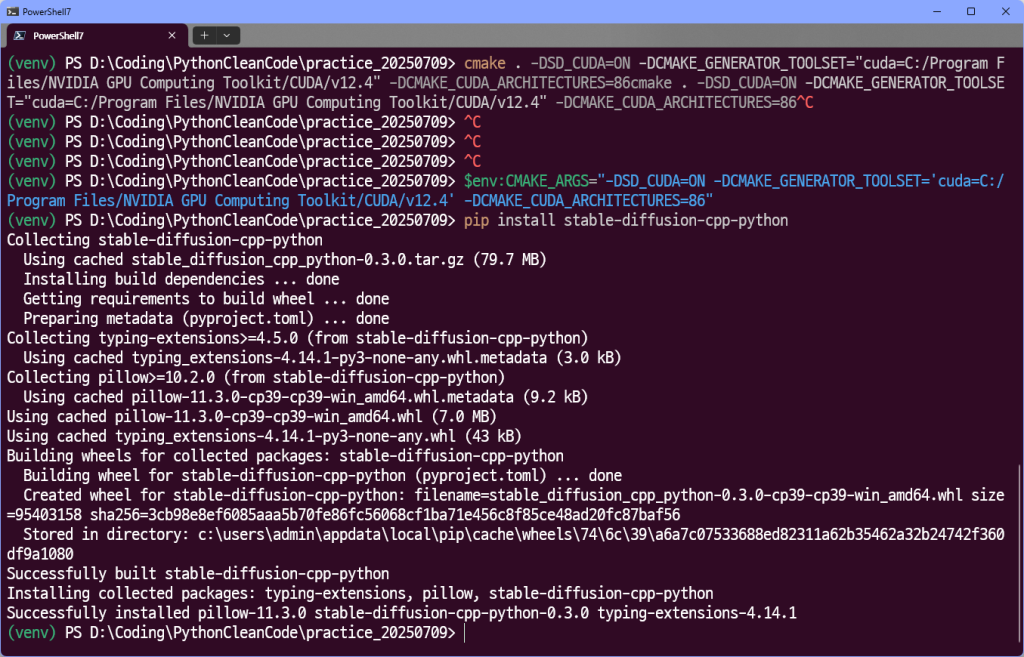
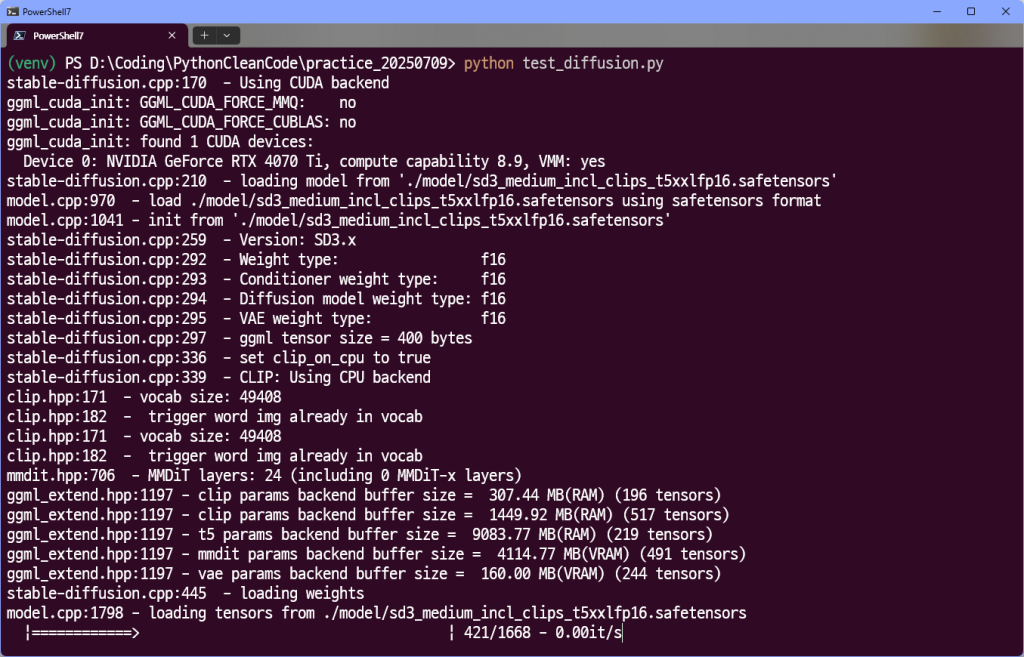
다음과 같이 실행이 됩니다.
from stable_diffusion_cpp import StableDiffusion

def callback(step: int, steps: int, time: float):
    print("Completed step: {} of {}".format(step, steps))

stable_diffusion = StableDiffusion(
      model_path="./model/sd3_medium_incl_clips_t5xxlfp16.safetensors",
      # wtype="default", # Weight type (e.g. "q8_0", "f16", etc) (The "default" setting is automatically applied and determines the weight type of a model file)
)
output = stable_diffusion.txt_to_img(
      prompt="a lovely cat",
      width=512, # Must be a multiple of 64
      height=512, # Must be a multiple of 64
      progress_callback=callback,
      # seed=1337, # Uncomment to set a specific seed (use -1 for a random seed)
)
output[0].save("output.png") # Output returned as list of PIL Images
외계인 고양이가 나오네요.
from stable_diffusion_cpp import StableDiffusion

def callback(step: int, steps: int, time: float):
    print("Completed step: {} of {}".format(step, steps))

stable_diffusion = StableDiffusion(
      model_path="./model/prefectPonyXL_v40.safetensors",
      # wtype="default", # Weight type (e.g. "q8_0", "f16", etc) (The "default" setting is automatically applied and determines the weight type of a model file)
)
output = stable_diffusion.txt_to_img(
      prompt="a lovely cat",
      width=512, # Must be a multiple of 64
      height=512, # Must be a multiple of 64
      progress_callback=callback,
      # seed=1337, # Uncomment to set a specific seed (use -1 for a random seed)
)
output[0].save("output2.png") # Output returned as list of PIL Images
코드를 다음과 같이 수정해본다.

세일러문에 나올것 같은 고양이가 나온다.
따라서 다음과 같이 파이썬에서 stablediffusion-cpp를 호출할 수 있음을 알 수 있었다.