https://github.com/Megvii-BaseDetection/YOLOX.git
https://onnxruntime.ai/docs/execution-providers/CUDA-ExecutionProvider.html#cuda-12x
상기 링크 참고
git clone git@github.com:Megvii-BaseDetection/YOLOX.git
cd YOLOX
#다음 명령어를 통해 나오는 3.8.* 버전 중에서 원하는 버전을 선택해서 가상환경 생성
conda search python | awk '{print $2}' | grep "3.8"
conda create -n yolox -y python==3.8.20
conda activate yolox
#onnx rumtime gpu 설치 및 기타 종속성 설치
pip install onnxruntime-gpu
pip install flatbuffers numpy packaging protobuf sympy
pip install torch-ort
pip3 install -v -e .
curl -L https://github.com/Megvii-BaseDetection/YOLOX/releases/download/0.1.1rc0/yolox_x.pth -o ./yolox_x.pth
mkdir weight
mv ./yolox_x.pth ./weight/yolox_x.pth
mkdir assets
#/root/Coding/YOLOX/weight/yolox_x.pth
#/root/Coding/YOLOX/yolox/assets/test.mp4
python tools/demo.py video -n yolox-x -c /root/Coding/YOLOX/weight/yolox_x.pth --path /root/Coding/YOLOX/yolox/assets/test.mp4 --conf 0.25 --nms 0.45 --tsize 640 --save_result --device gpu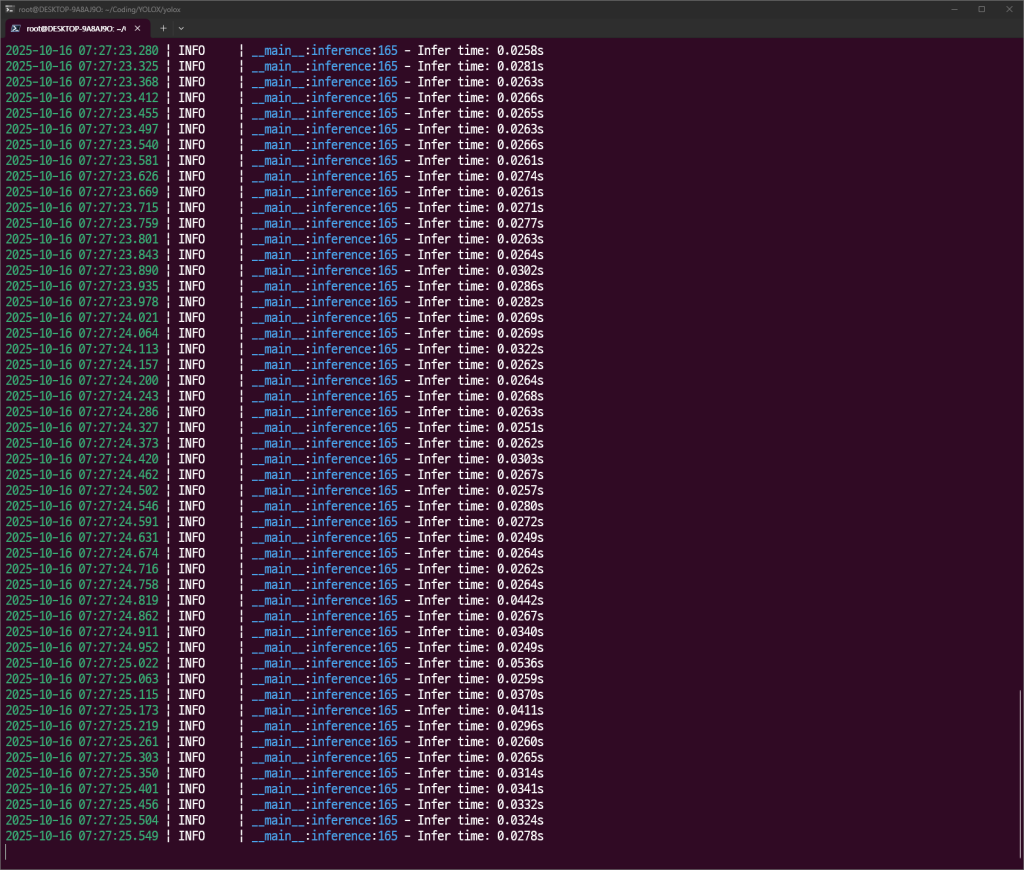
cd YOLOX_outputs

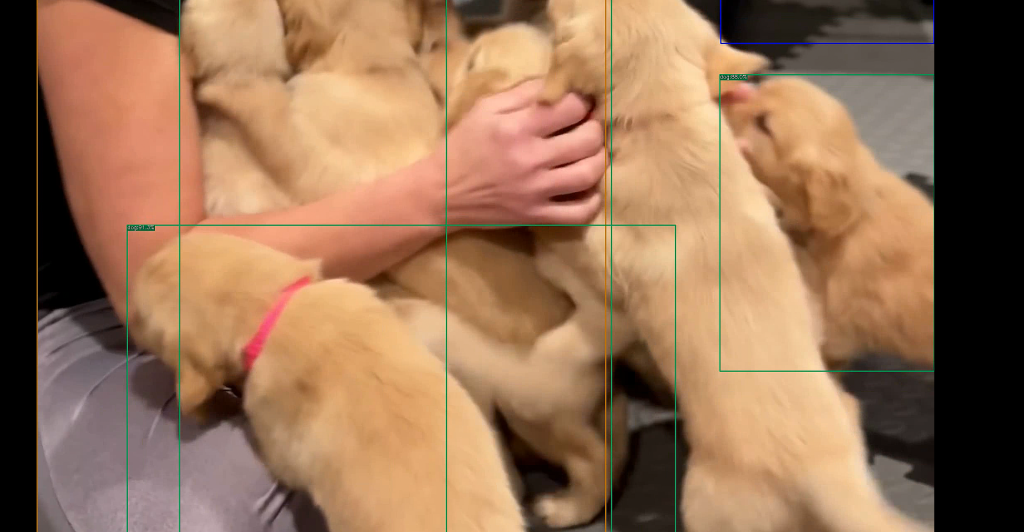
다음과 같은 결과를 얻을 수 있다.

장수풍뎅이와 사슴벌레에 대한 레이블링은 되지 않는 것인지 가위나 바나나로 탐지하고 있다.
이 부분은 장수풍뎅이와 사슴벌레에 대한 재학습이 필요한 것 같다는 판단이다.
ffmpeg -i "/home/pickcare/Coding/YOLOX/assets/puppy_video.mp4" -c:v h264_nvenc "/home/pickcare/Coding/YOLOX/assets/puppy_video_h264.mp4" 코덱 변경 명령어

잘된다.