#win32
git lfs install
git clone https://github.com/index-tts/index-tts.git
cd index-tts
py.exe -3.11 -m venv .venv
.\.venv\Scripts\activate
python -m pip install -U pip "setuptools>=75" wheel
pip install torch==2.8.0+cu128 torchaudio==2.8.0+cu128 --index-url https://download.pytorch.org/whl/cu128
pip install timm>=1.0.17
pip install pytorch-lightning==2.5.2
pip install pandas
pip install matplotlib
pip install scipy
pip install https://github.com/kingbri1/flash-attention/releases/download/v2.8.3/flash_attn-2.8.3+cu128torch2.8.0cxx11abiFALSE-cp311-cp311-win_amd64.whl
pip install https://github.com/woct0rdho/triton-windows/releases/download/v3.2.0-windows.post10/triton-3.2.0-cp311-cp311-win_amd64.whl
pip install huggingface_hub[cli,hf_xet]
pip install gradio
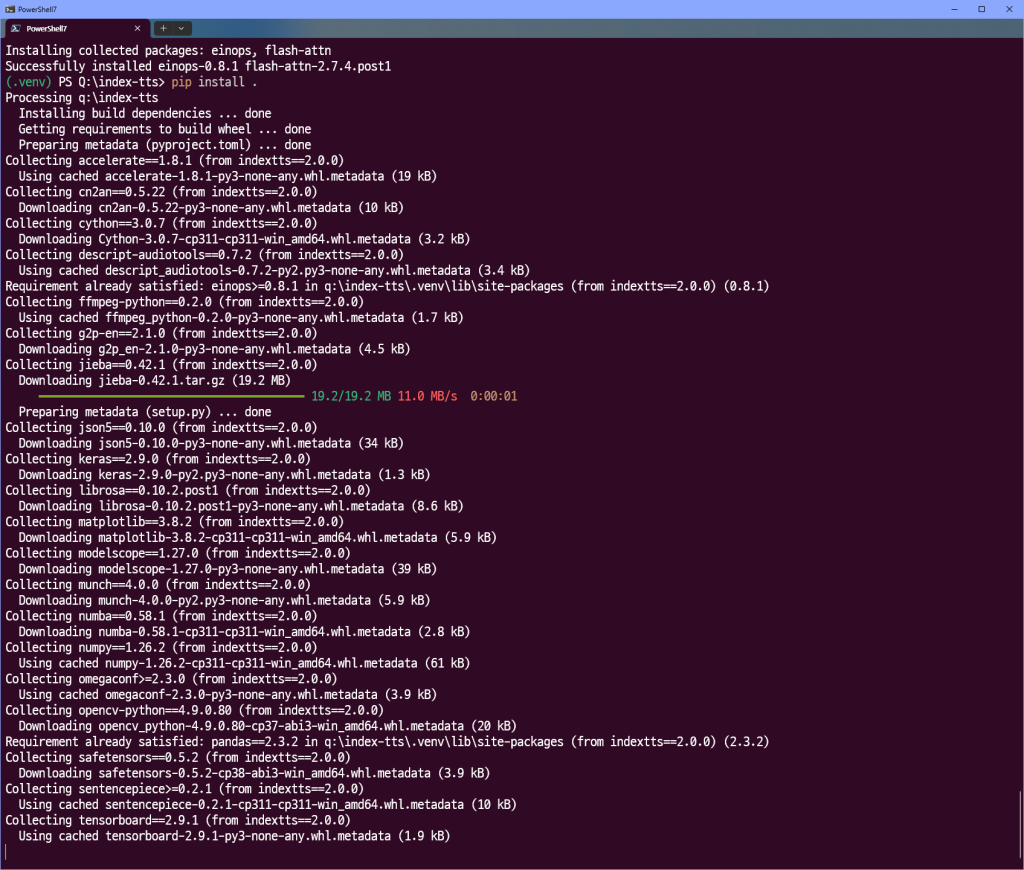
pip install .
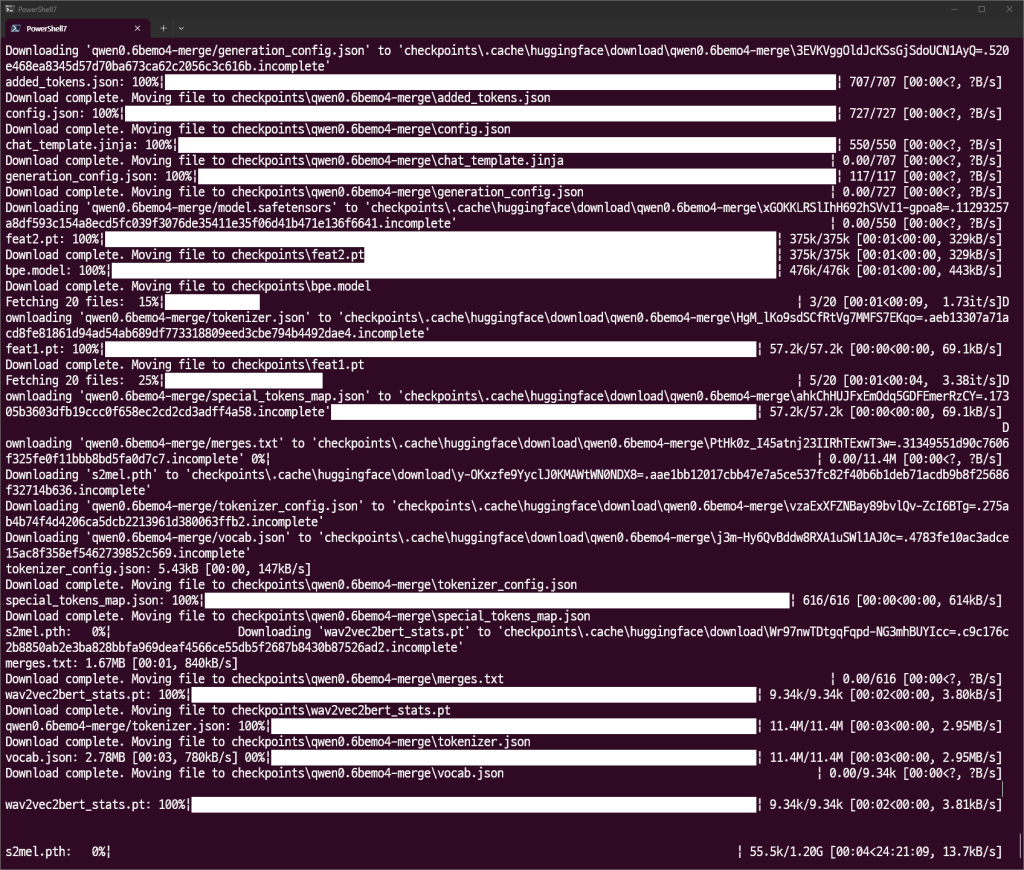
hf download IndexTeam/IndexTTS-2 --local-dir=checkpoints

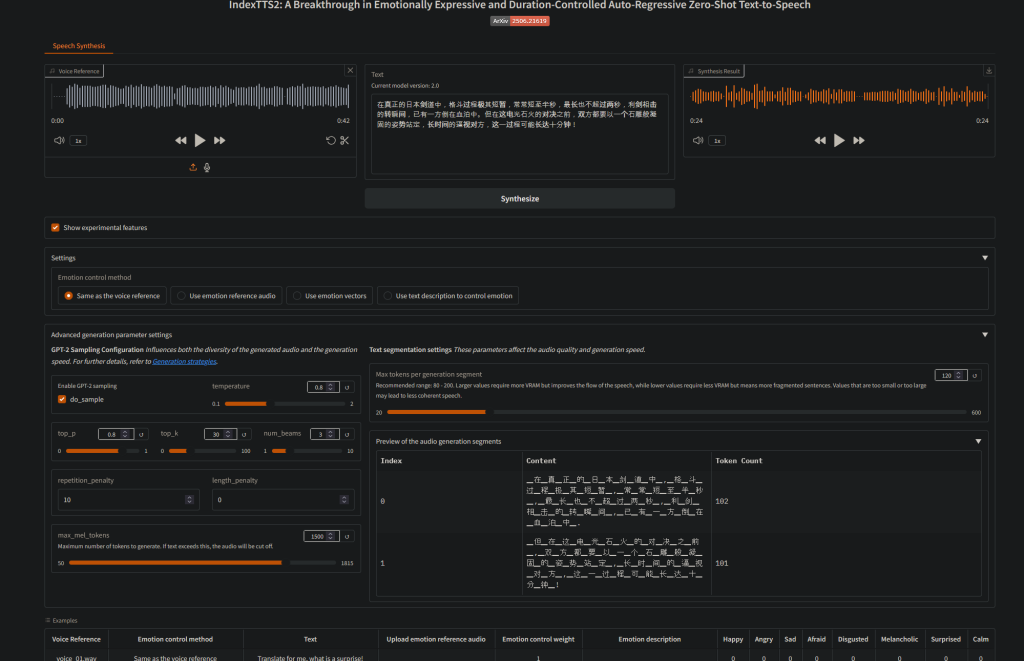
from indextts.infer_v2 import IndexTTS2
tts = IndexTTS2(cfg_path="checkpoints/config.yaml", model_dir="checkpoints", use_fp16=False, use_cuda_kernel=False, use_deepspeed=False)
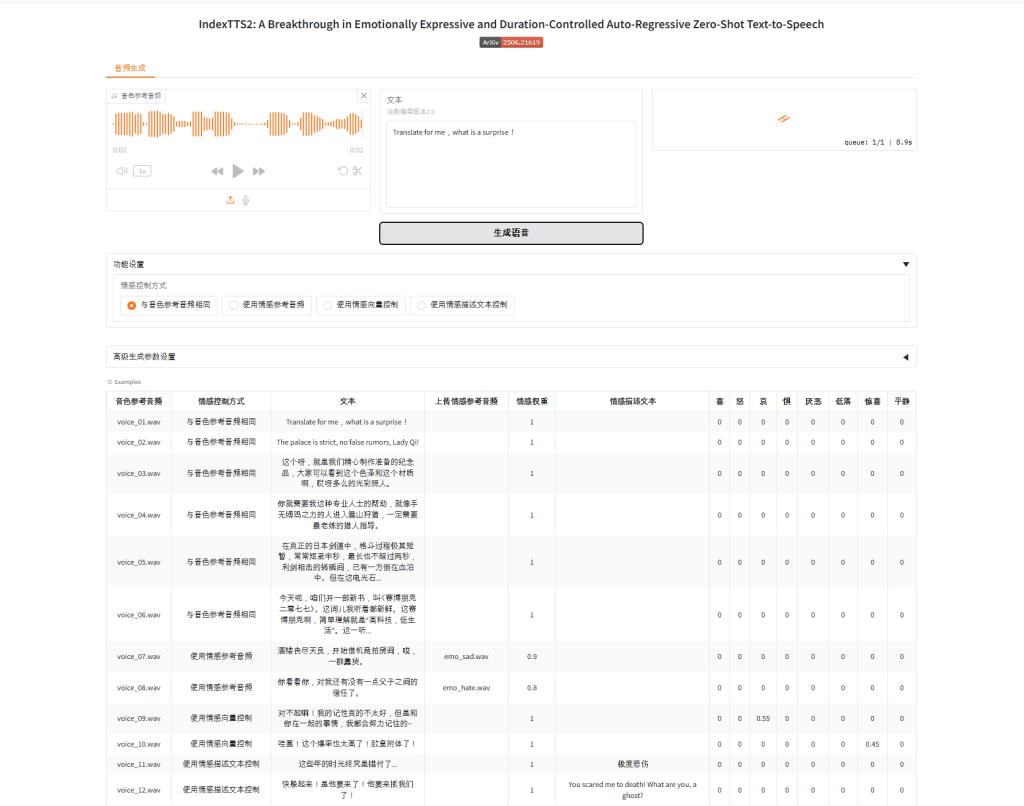
text = "Translate for me, what is a surprise!"
tts.infer(spk_audio_prompt='examples/voice_01.wav', text=text, output_path="gen.wav", verbose=True)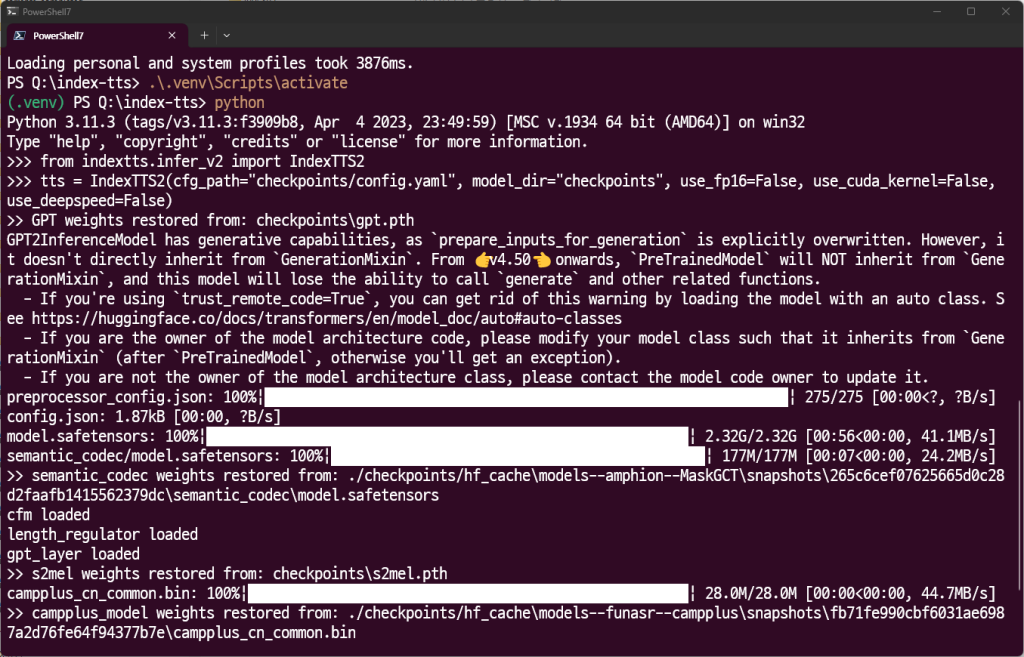
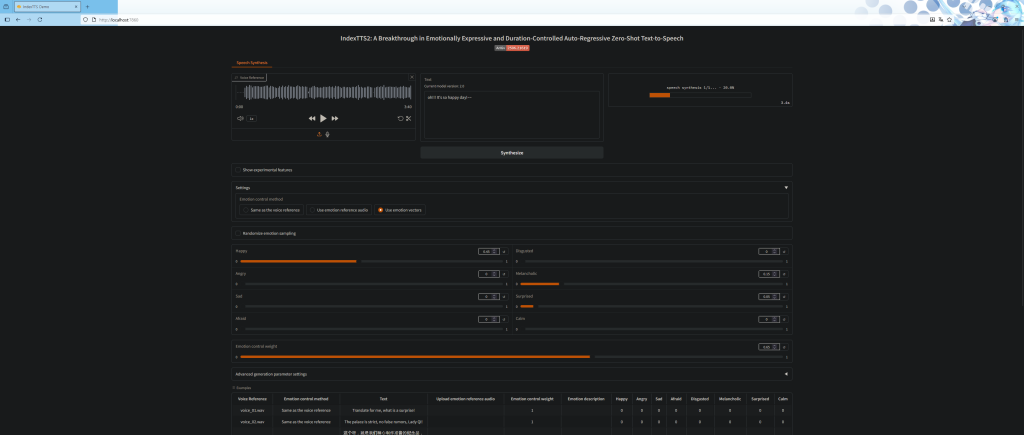
python webui.py
git clone https://github.com/Ksuriuri/index-tts-vllm.git
cd index-tts-vllm
conda create -n index-tts-vllm python=3.12
conda activate index-tts-vllm
pip install torch==2.8.0+cu128 torchaudio==2.8.0+cu128 --index-url https://download.pytorch.org/whl/cu128
#주석 #1 참고!
conda install -c conda-forge pynini=2.1.5
pip install WeTextProcessing==1.0.3
pip install -r requirements.txt
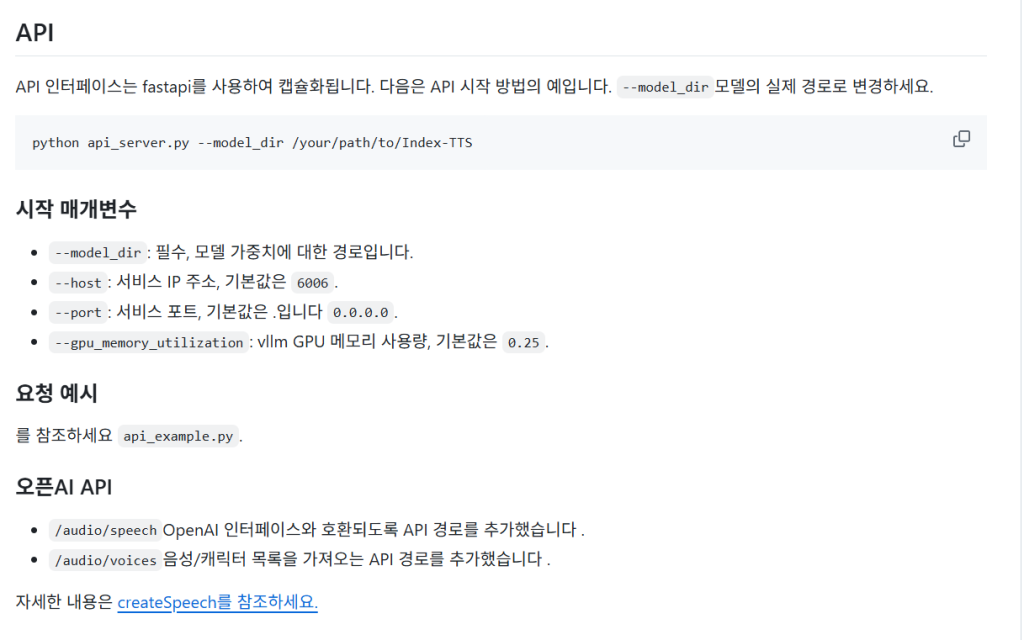
# Index-TTS
modelscope download --model kusuriuri/Index-TTS-vLLM --local_dir ./checkpoints/Index-TTS-vLLM
# IndexTTS-1.5
modelscope download --model kusuriuri/Index-TTS-1.5-vLLM --local_dir ./checkpoints/Index-TTS-1.5-vLLM
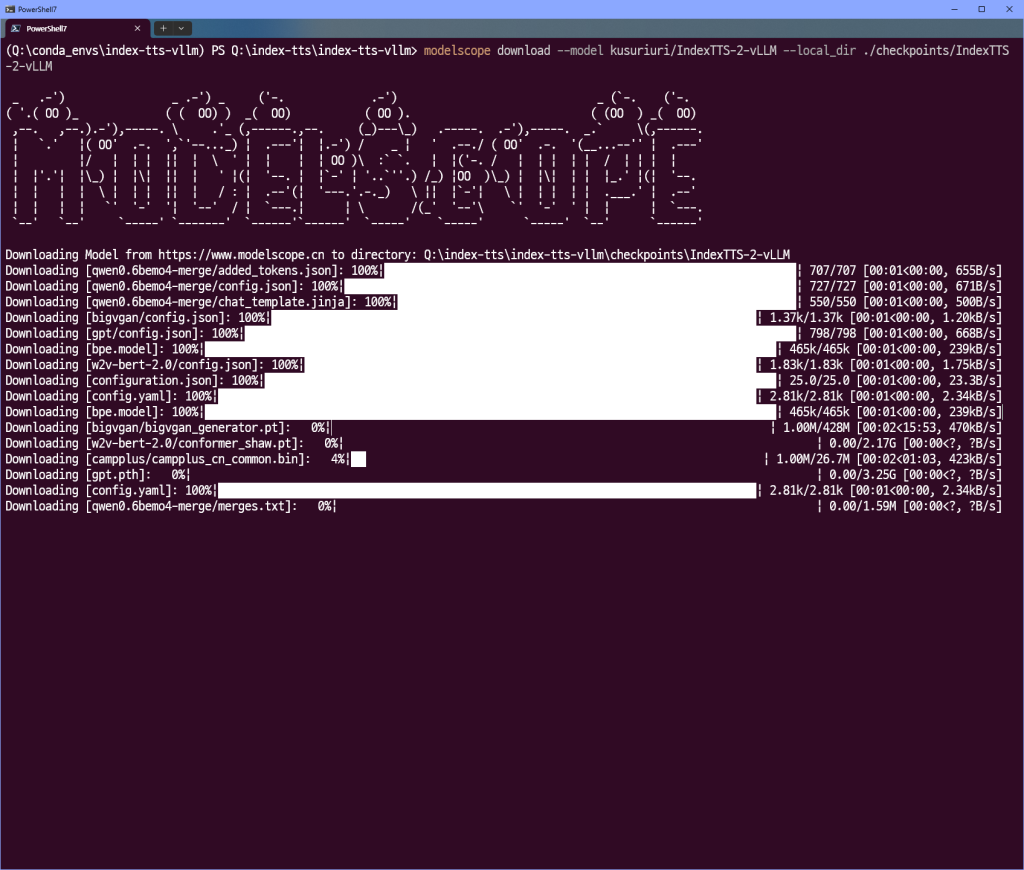
# IndexTTS-2
modelscope download --model kusuriuri/IndexTTS-2-vLLM --local_dir ./checkpoints/IndexTTS-2-vLLM
# Index-TTS 1.0
python webui.py
# IndexTTS-1.5
python webui.py --version 1.5
# IndexTTS-2
python webui_v2.py
https://github.com/Ksuriuri/index-tts-vllm/blob/master/README_EN.md
주석#1
https://github.com/vllm-project/vllm/pull/14891
git clone https://github.com/vllm-project/vllm.git
cd vllm
uv venv --python 3.11 --seed
.venv\Scripts\Activate.ps1
cd "C:\Program Files\Microsoft Visual Studio\2022\Community\VC\Auxiliary\Build"
vcvarsall.bat x64
cd <vllm 경로>
set DISTUTILS_USE_SDK=1
set VLLM_TARGET_DEVICE=cuda
set MAX_JOBS=10
pip install torch==2.8.0+cu128 torchaudio==2.8.0+cu128 --index-url https://download.pytorch.org/whl/cu128
uv pip install -e .
https://docs.vllm.ai/en/latest/getting_started/installation/gpu.html#full-build-with-compilation
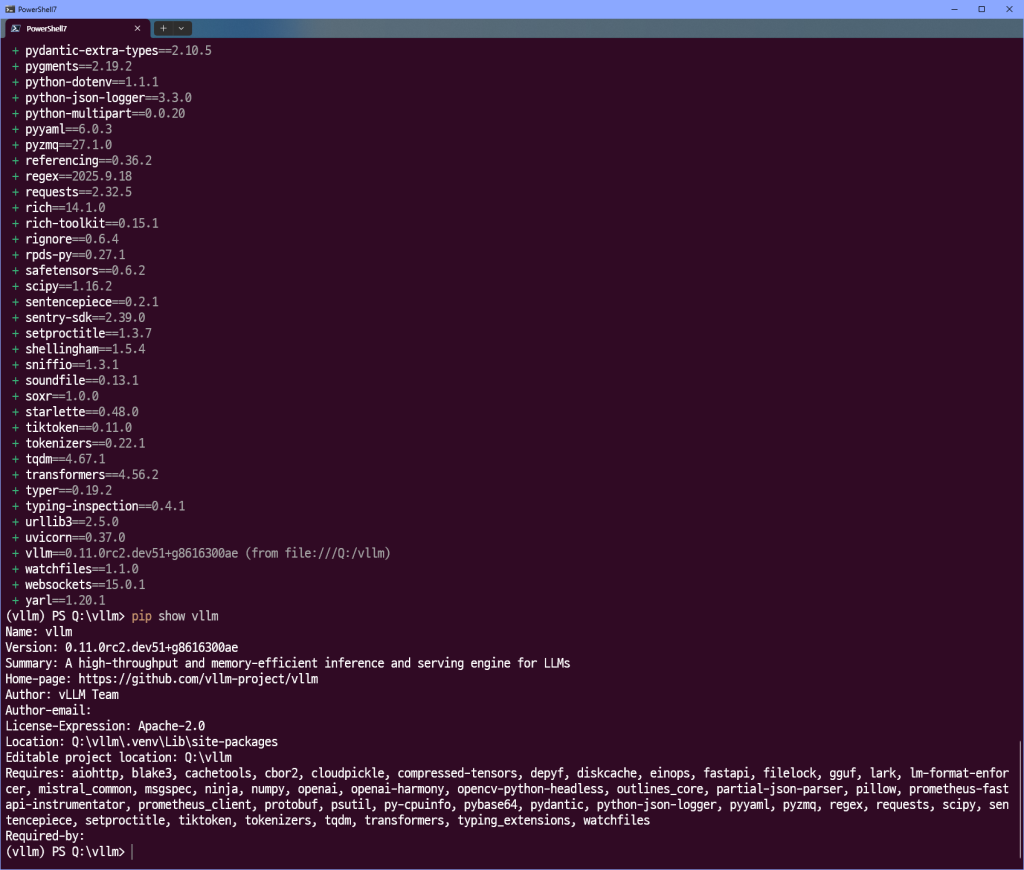

uv pip install build
python -m build --wheel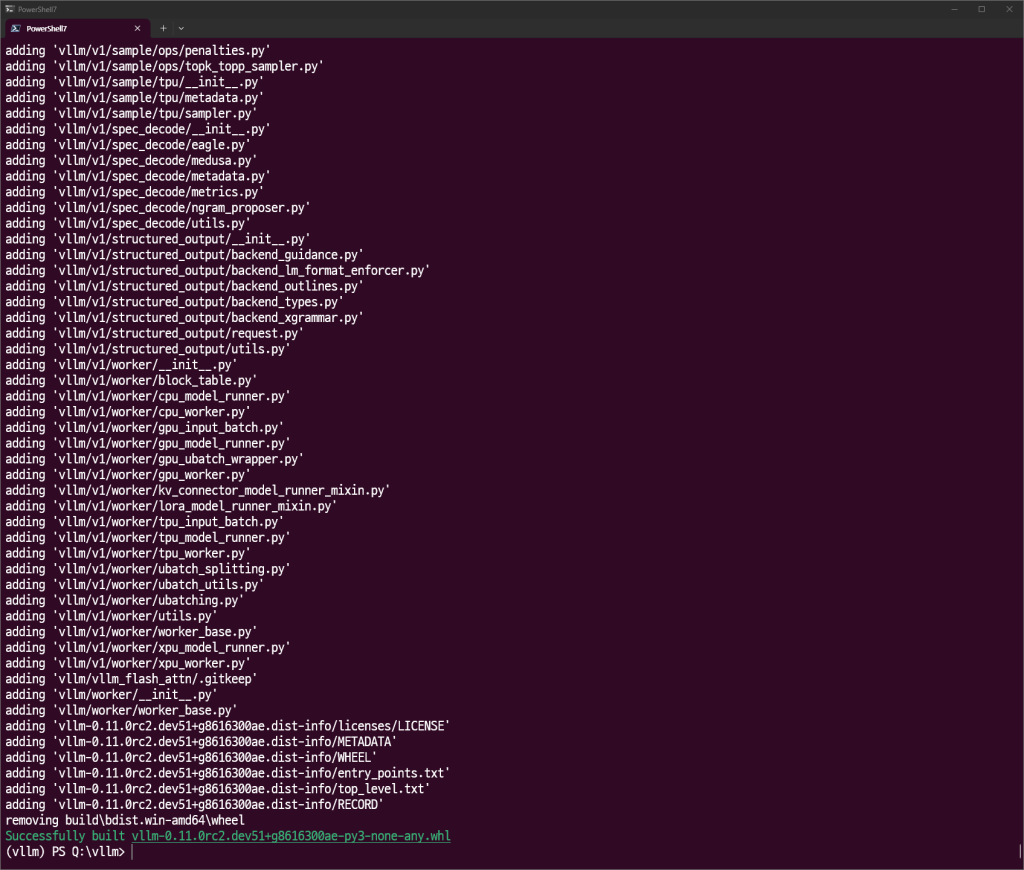
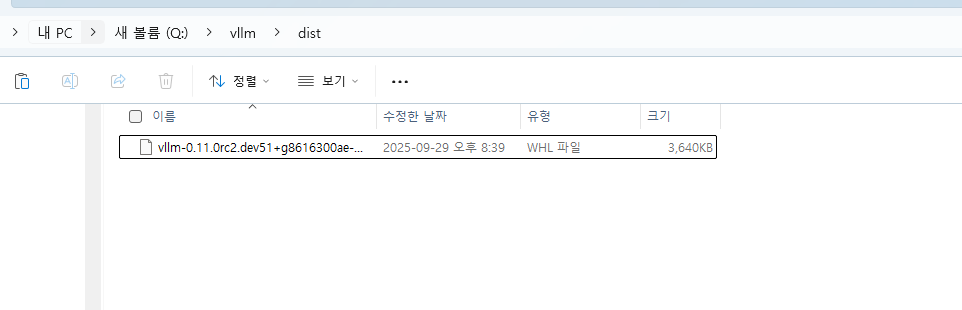
conda activate index-tts-vllm
pip install "Q:\vllm\dist\vllm-0.11.0rc2.dev51+g8616300ae-py3-none-any.whl"(생성된 whl의 절대 경로)

주석 끝!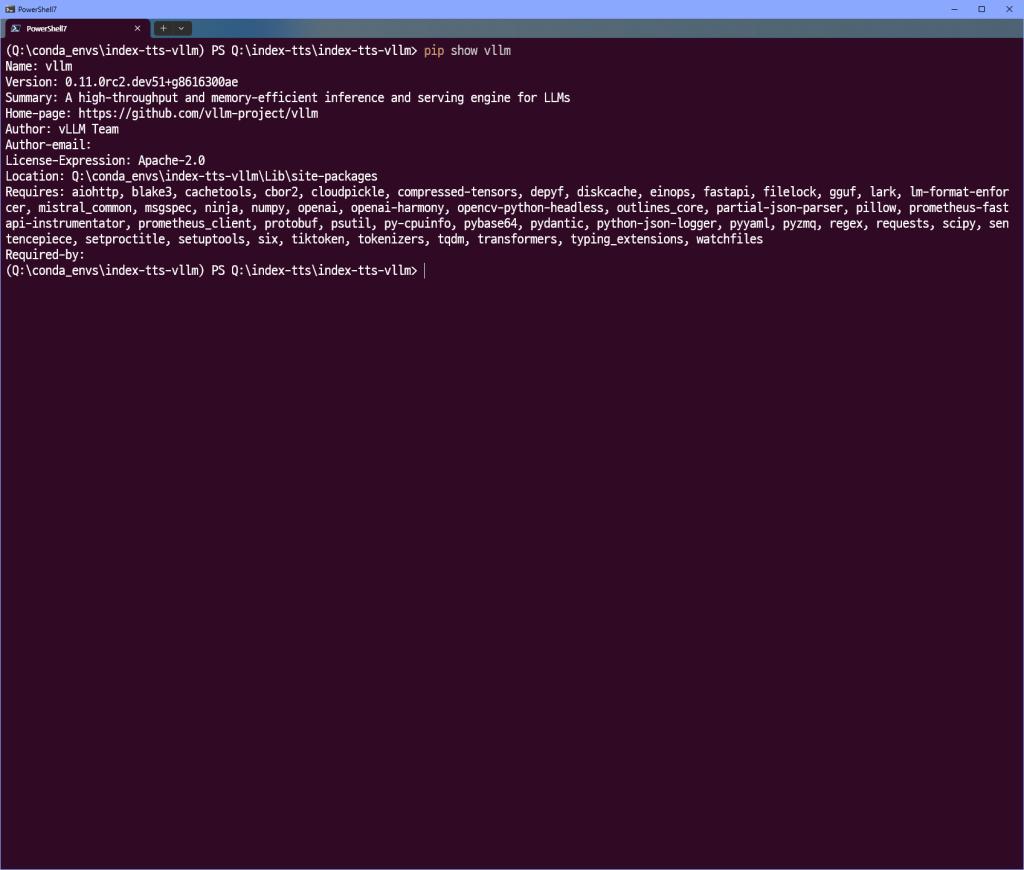
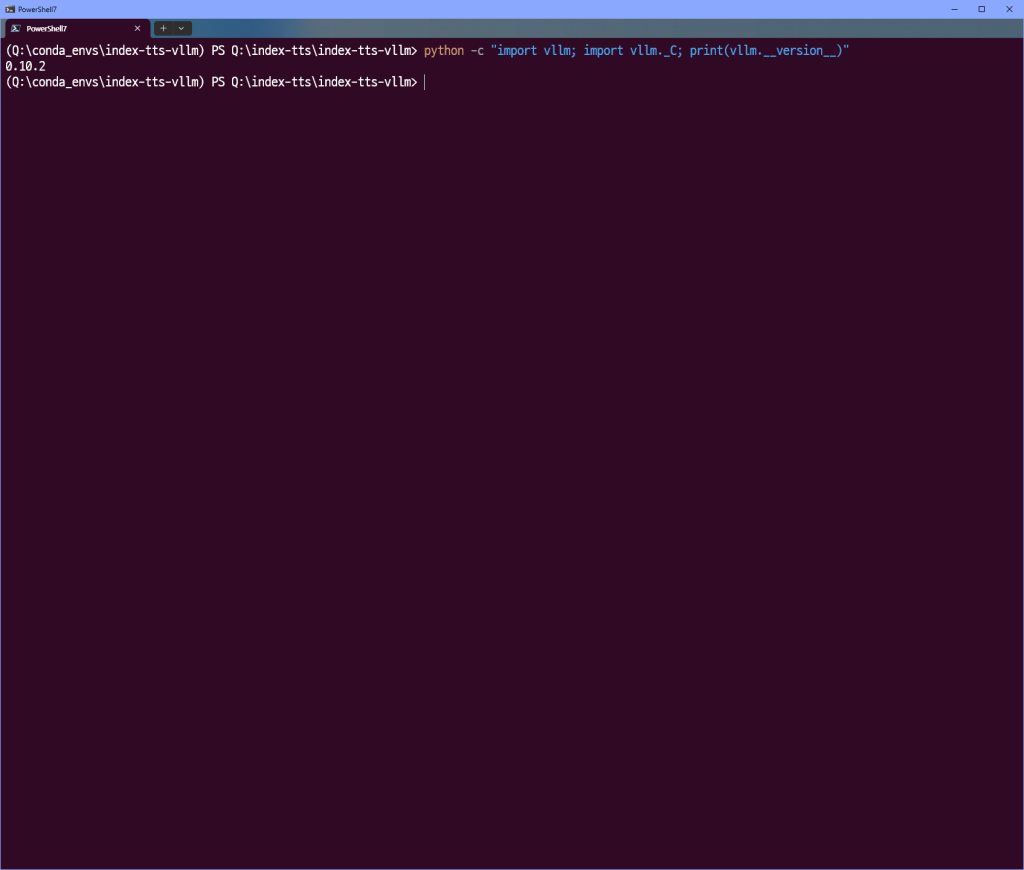
python webui_v2.py
ModuleNotFoundError: No module named ‘vllm._C’
아 뭔가 안된다.

우선
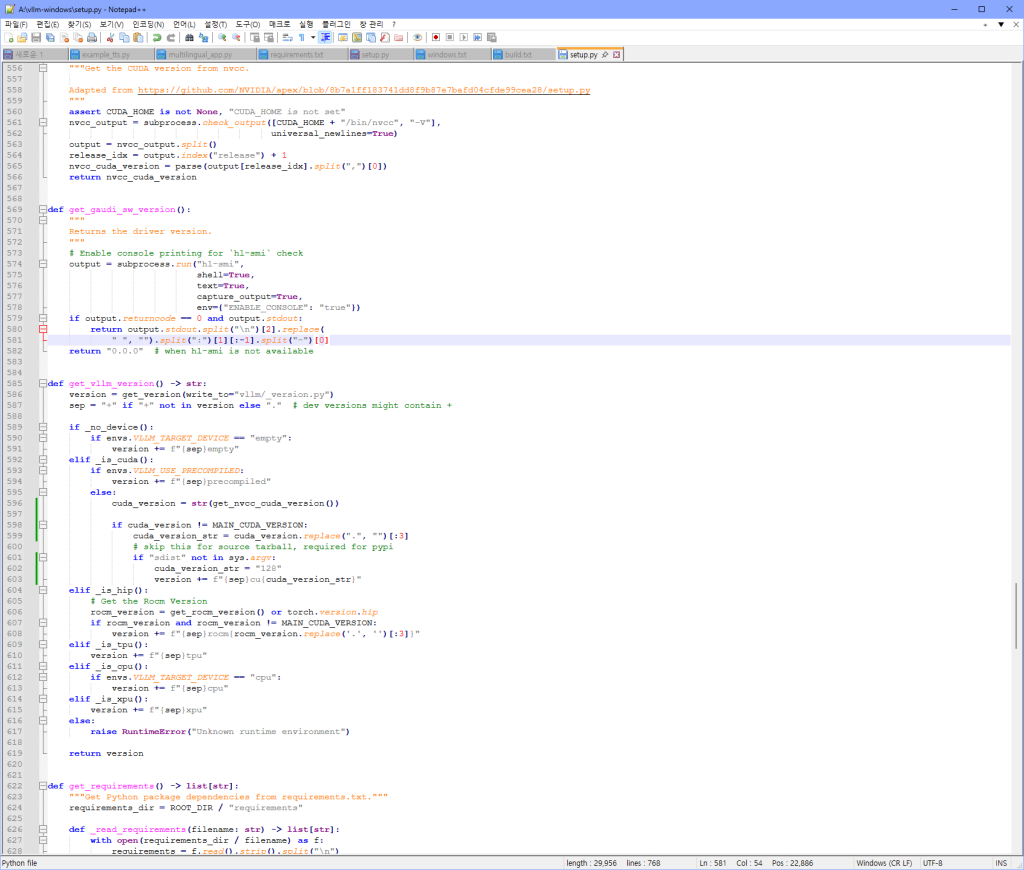
https://github.com/SystemPanic/vllm-windows
windows용으로 포크된 리포를 사용한다. 이게 찾아보니 python 3.11에서는 f-string의 중괄호 안 표현식에서 백슬래시를 직접 넣을 수 없기 때문에 3.12이상을 써야 한다고 한다. 따라서 3.12로 변경한다.
git clone -b main https://github.com/SystemPanic/vllm-windows.git
cd vllm-windows
git checkout v0.10.2
git pull origin v0.10.2
uv venv --python 3.12 --seed
.venv\Scripts\Activate.ps1
cd "C:\Program Files\Microsoft Visual Studio\2022\Community\VC\Auxiliary\Build"
vcvarsall.bat x64
cd <vllm 경로>
set DISTUTILS_USE_SDK=1
set VLLM_TARGET_DEVICE=cuda
set MAX_JOBS=10
set CUDA_HOME="C:\Program Files\NVIDIA GPU Computing Toolkit\CUDA\v12.8"
python use_existing_torch.py
uv pip install -r requirements/build.txt
uv pip install -r requirements/windows.txt
uv pip uninstall torch torchaudio torchvision
uv pip install --pre torch torchvision torchaudio --index-url https://download.pytorch.org/whl/nightly/cu128
set VLLM_TARGET_DEVICE=cuda
set CUDA_HOME="C:\Program Files\NVIDIA GPU Computing Toolkit\CUDA\v12.8"
set PATH=%PATH%;%CUDA_HOME%\bin

uv pip install https://huggingface.co/czmahi/xformers-windows-torch2.8-cu128-py312/resolve/main/latest-torch2.8-python3.12-xformers-comfyui-windows/xformers-0.0.31%2B8fc8ec5a.d20250503-cp312-cp312-win_amd64.whl

uv pip install . --no-build-isolation --extra-index-url https://download.pytorch.org/whl/nightly/cu128


uv pip install vllm==0.10.2
python -m build --wheel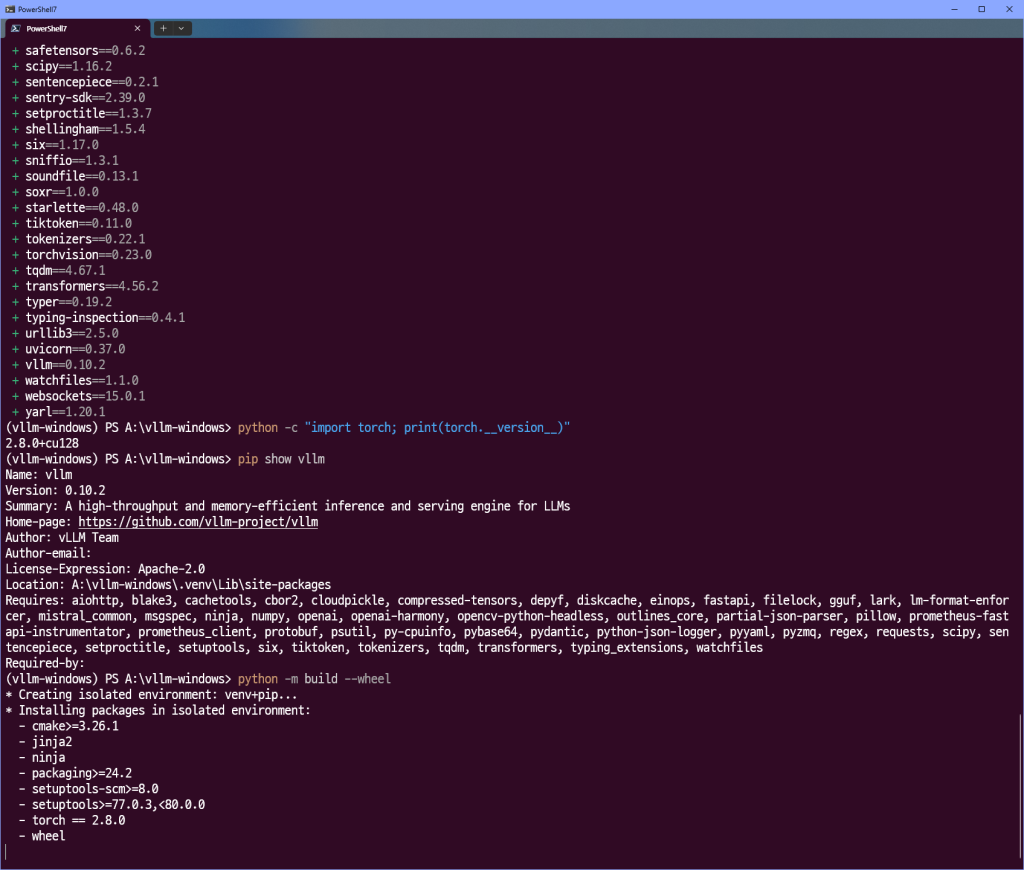
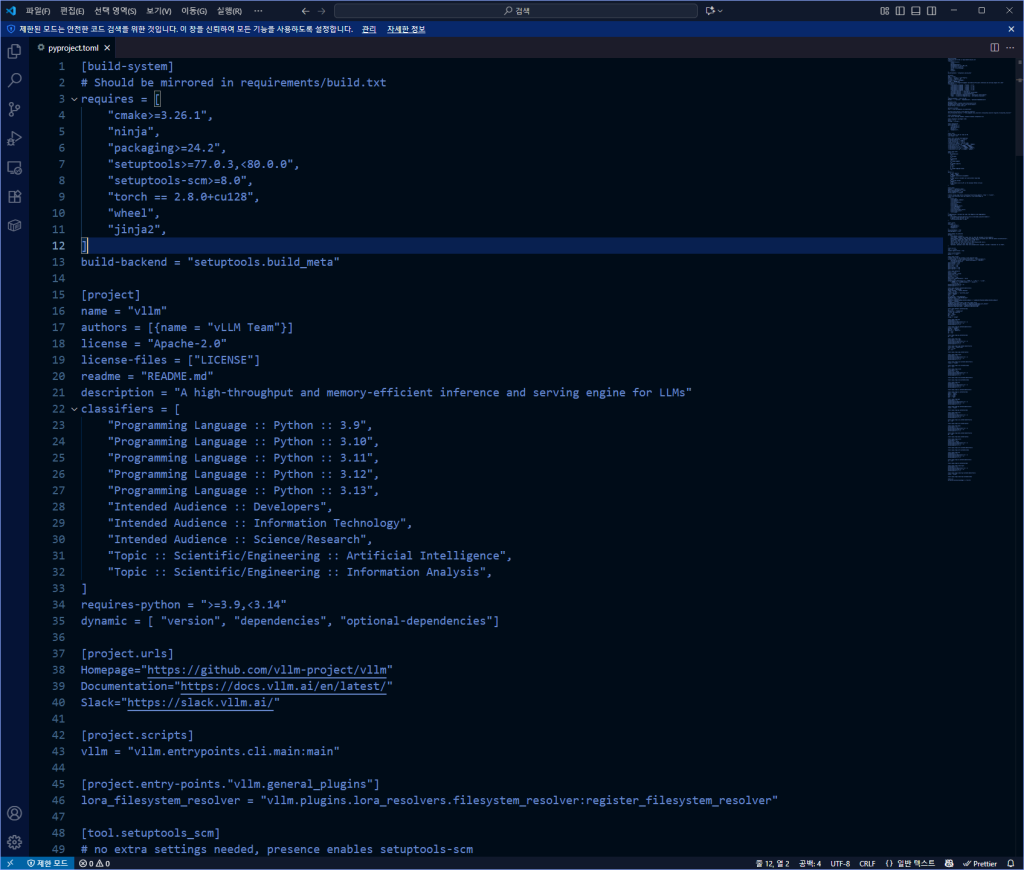
# Common dependencies
--extra-index-url https://download.pytorch.org/whl/cu128
-r common.txt

numba == 0.60.0; python_version == '3.9' # v0.61 doesn't support Python 3.9. Required for N-gram speculative decoding
numba == 0.61.2; python_version > '3.9'

# Dependencies for NVIDIA GPUs
ray[cgraph]>=2.48.0 # Ray Compiled Graph, required for pipeline parallelism in V1.
torch==2.8.0+cu128
torchaudio==2.8.0+cu128
# These must be updated alongside torch
torchvision==0.23.0+cu128 # Required for phi3v processor. See https://github.com/pytorch/vision?tab=readme-ov-file#installation for corresponding version
# https://github.com/facebookresearch/xformers/releases/tag/v0.0.31.post1
#xformers==0.0.31.post1; platform_system == 'Linux' and platform_machine == 'x86_64'  # Requires PyTorch >= 2.8
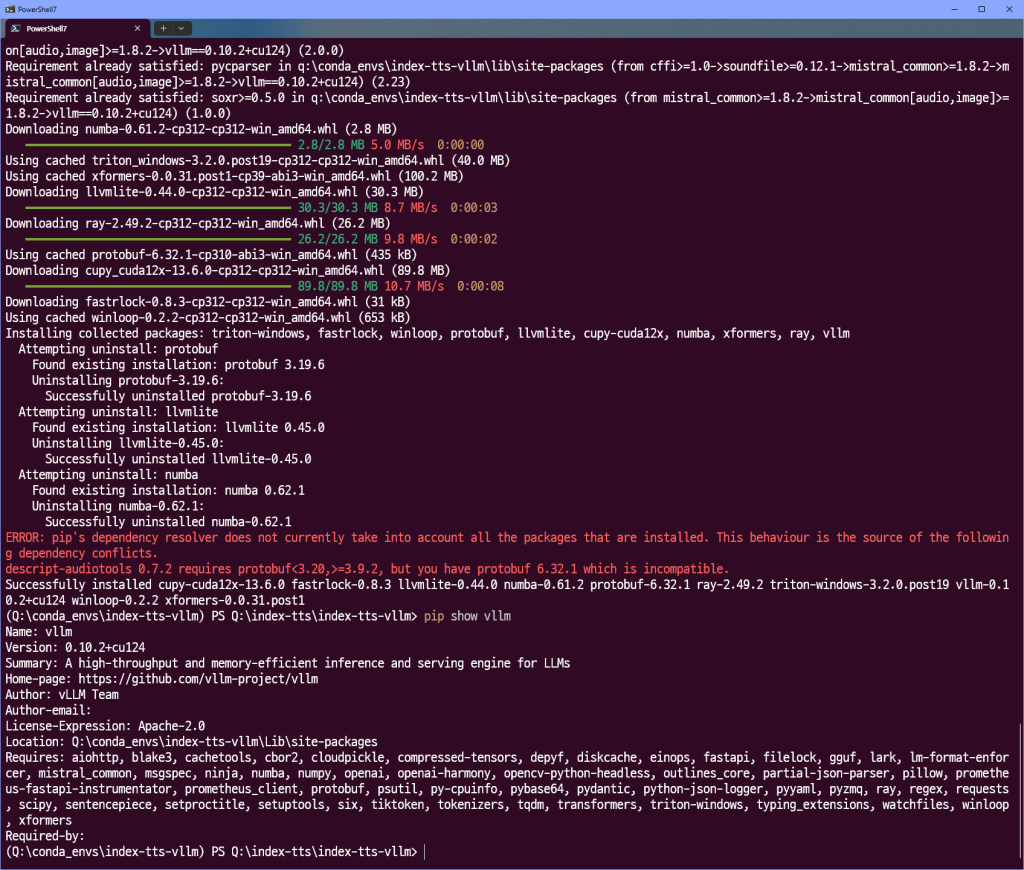
이것도 뭔가 안된다. 아직 GG 치기 짜증나서 더 해볼거다. 일단 소스에서 빌드하는 것은 좀 힘들어서
prebuilt wheel을 사용할거임.
conda activate index-tts-vllm
pip uninstall vllm
pip uninstall torch torchvision torchaudio -y
pip install torch==2.7.1+cu126 torchaudio==2.7.1+cu126 torchvision==0.22.1+cu126 --index-url https://download.pytorch.org/whl/cu126
pip install https://github.com/SystemPanic/vllm-windows/releases/download/v0.10.2/vllm-0.10.2+cu124-cp312-cp312-win_amd64.whl
conda install -c conda-forge pynini=2.1.5
pip install WeTextProcessing==1.0.3
pip install wetext
하… 그냥 처음부터 이렇게 할걸
뭔가 마음에 안들어서 ㅋㅋㅋㅋㅋ
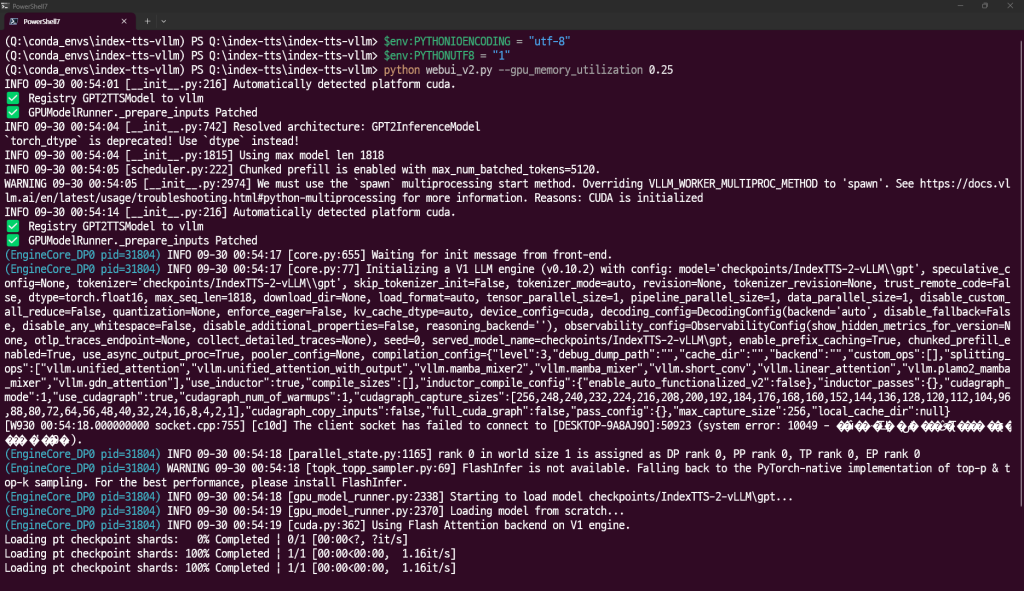
$env:PYTHONIOENCODING = "utf-8"
$env:PYTHONUTF8 = "1"
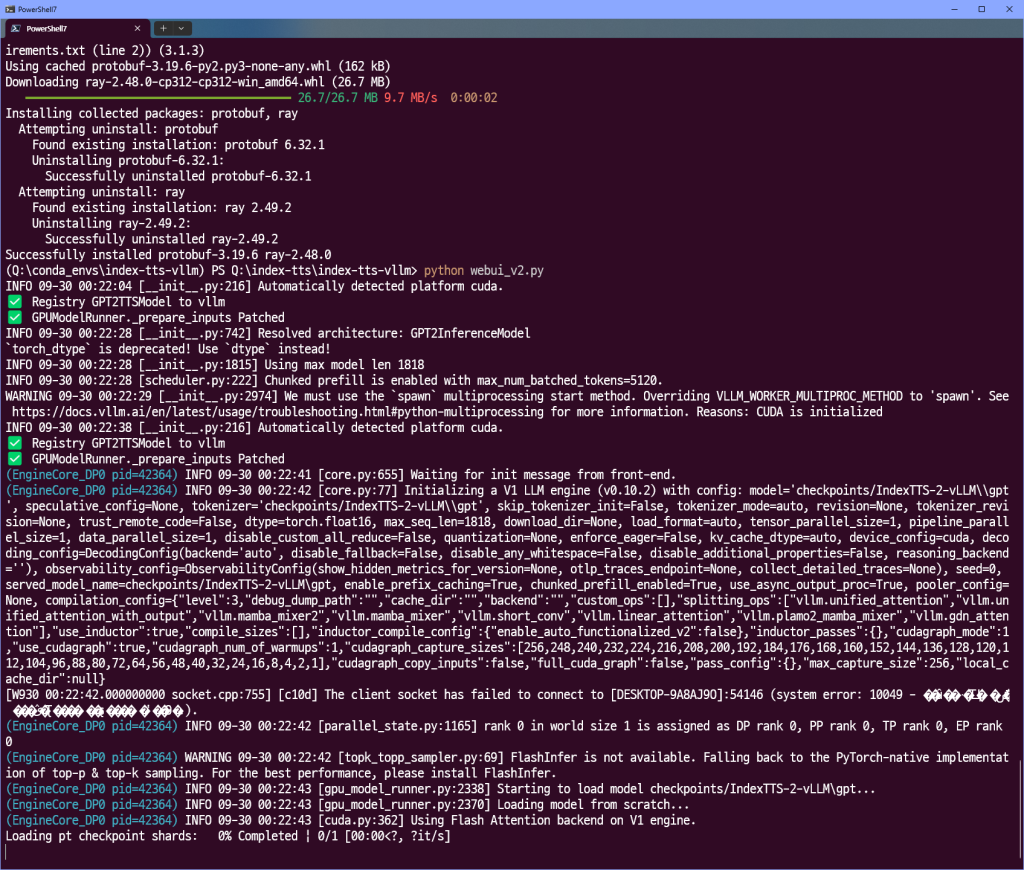
python webui_v2.py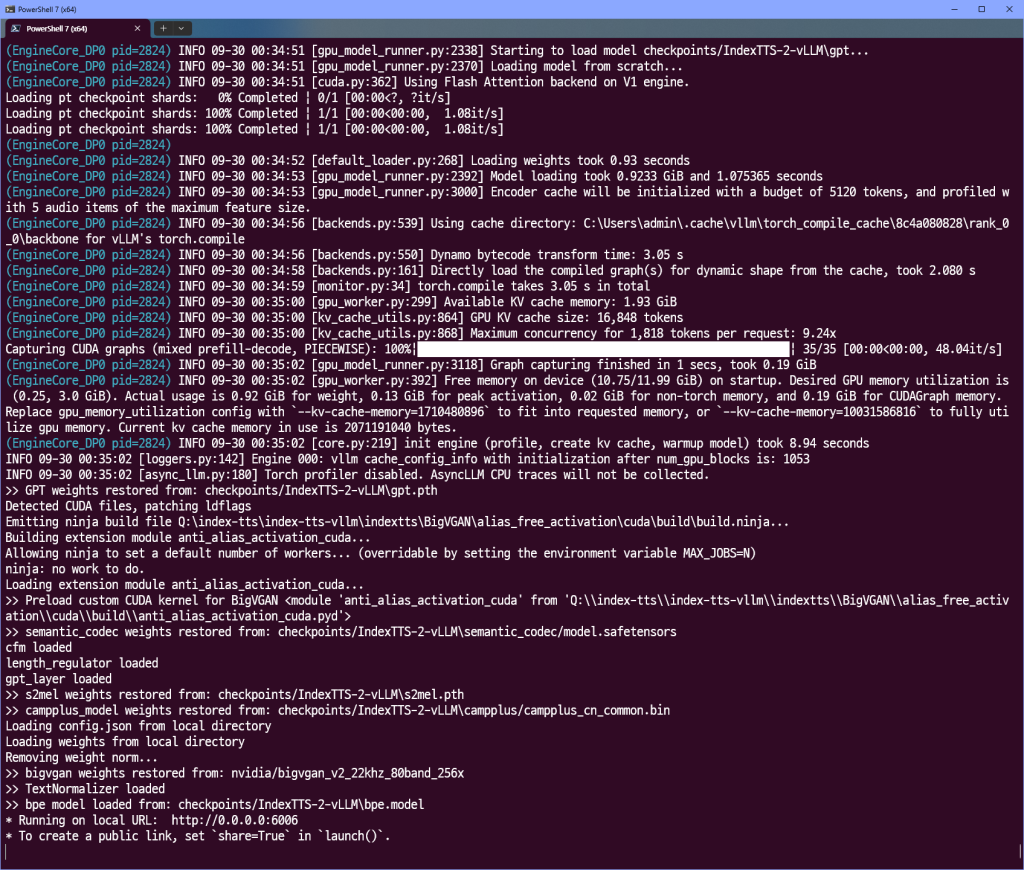
근데 out-of-memory가 날 만큼 vram을 좀 많이 먹는 모양이다. 따라서
$env:PYTHONIOENCODING = "utf-8"
$env:PYTHONUTF8 = "1"
python webui_v2.py --gpu_memory_utilization 0.25

#위 옵션이 대략 6GB 정도의 vram을 차지한다고 한다.
아무튼 이걸 하면서 느낀 점은 윈도우에서는 아직 AI쪽은 어려운 점이 남아 있다는 것이다.
일단 오늘의 결론 index-tts-vllm은 vram이 많은 시스템 상에서 사용하면 좋다. (기껏 빌드했더니 메모리 부족으로 안됨 )
그냥 오리지날 index-tts를 쓰자.