conda create -n total -y python ==3.11.3
conda activate total
pip install torch==2.5.1 torchvision torchaudio --index-url https://download.pytorch.org/whl/test/cu124
Looking in indexes: https://download.pytorch.org/whl/test/cu124
$env:CMAKE_ARGS="-DSD_CUDA=ON -DCMAKE_GENERATOR_TOOLSET='cuda=C:/Program Files/NVIDIA GPU Computing Toolkit/CUDA/v12.4' -DCMAKE_CUDA_ARCHITECTURES=86"
pip install stable-diffusion-cpp-python
pip install transformers[torch] -U
pip install "huggingface_hub[cli]"
#SD1.4호환
huggingface-cli download webui/ControlNet-modules-safetensors --local-dir ./ControlNet-modules-safetensors
InstantX/SD3-Controlnet-Pose <-- SD3용 openpose 컨트롤넷
huggingface-cli download InstantX/SD3-Controlnet-Pose --local-dir ./ControlNetForSD3
일단 sd1.4모델을 써야 할 것 같다.
https://huggingface.co/CompVis/stable-diffusion-v-1-4-original/tree/main
에서 다운 받으면 된다.
https://huggingface.co/InstantX/SD3-Controlnet-Pose
stable diffusion도 diffusers 파이프라인을 통해 controlnet 적용이 가능한 것 같다.
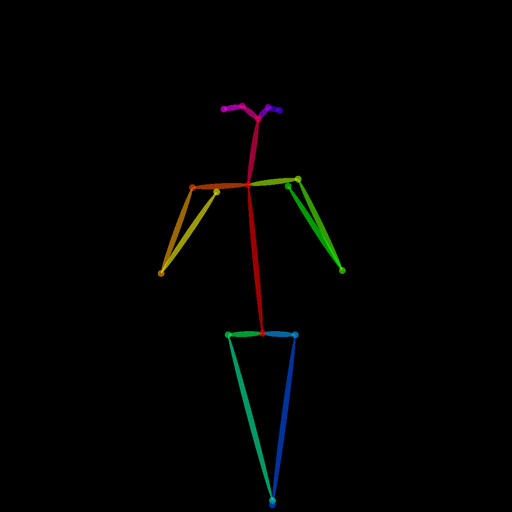
ffmpeg -i "Q:\stable-diffusion.cpp\bin\Release\pose_rendered.png" -vf "scale=512:512:force_original_aspect_ratio=decrease,pad=512:512:(ow-iw)/2:(oh-ih)/2:black" "Q:\stable-diffusion.cpp\bin\Release\pose_resized_padded_512.png"를 통해 pose로 사용할 이미지를 512×512로 리사이즈 한다.
./sd --mode txt2img -p "a person" -m "Q:\stable-diffusion.cpp\bin\Release\model\sd-v1-4.ckpt" --control-net "Q:\stable-diffusion.cpp\bin\Release\ControlNet-modules-safetensors\control_openpose-fp16.safetensors" --control-image "Q:\stable-diffusion.cpp\bin\Release\pose_resized_padded_512.png" --type f16 -v를 통해 pose를 참고하여 이미지 생성을 시도한다.
흠 잘 안되면 다른 사진을 기준으로 pose를 추출해보자.
.\OpenPoseDemo.exe --image_dir "Q:\pose_original\" --write_images "Q:\stable-diffusion.cpp\bin\Release\" --disable_blending
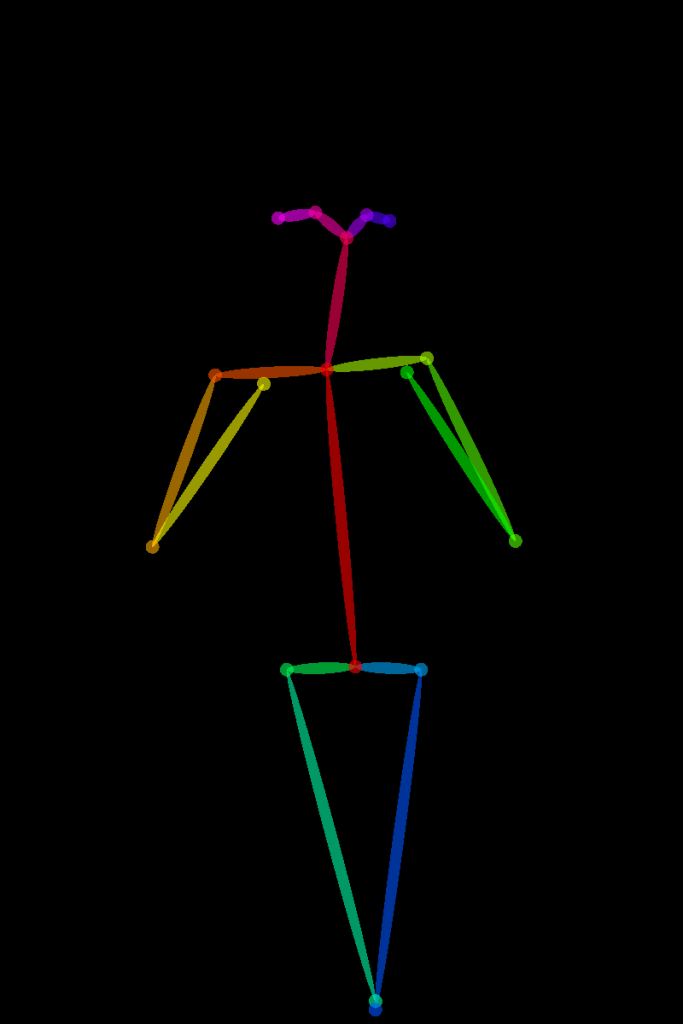
이렇게 나오고 리사이즈 한다.
./sd --mode txt2img -p "photorealistic portrait of a middle-aged man with beard, detailed face, sharp eyes, cinematic lighting, high resolution, 8k" -m "Q:\stable-diffusion.cpp\bin\Release\model\sd-v1-4.ckpt" --control-net "Q:\stable-diffusion.cpp\bin\Release\ControlNet-modules-safetensors\control_openpose-fp16.safetensors" --control-image "Q:\stable-diffusion.cpp\bin\Release\PYH2023100811830000500_P4_rendered_resized_padded_512.png" -v다음과 같은 프롬프트를 주었을 경우
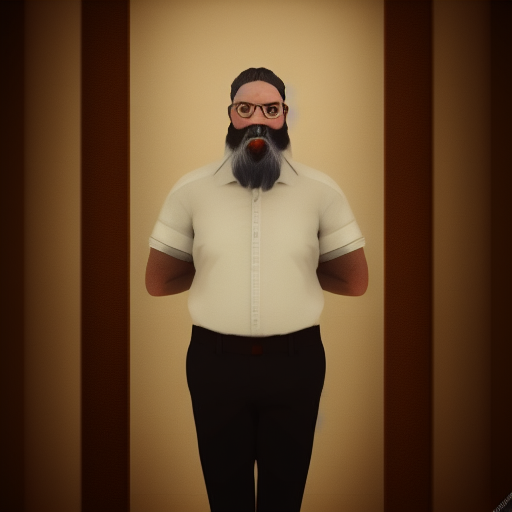
다음과 같이 나오게 되는데 확실히 기본 SD1.4라서 형편없다.
근데 막상 모델을 찾아보려고 civit.ai에 가보니 죄다 sd1.5모델이였다.
그래서 sd1.5를 다운 받기로 했다.. 일단 sd1.5로 테스트 한 뒤 잘되면 civit.ai의 모델을 사용해보려고 한다.
https://huggingface.co/stable-diffusion-v1-5/stable-diffusion-v1-5/tree/main
curl -L --progress-bar -o "Q:\stable-diffusion.cpp\bin\Release\v1-5-pruned.safetensors" "https://huggingface.co/sd-legacy/stable-diffusion-v1-5/resolve/main/v1-5-pruned.safetensors"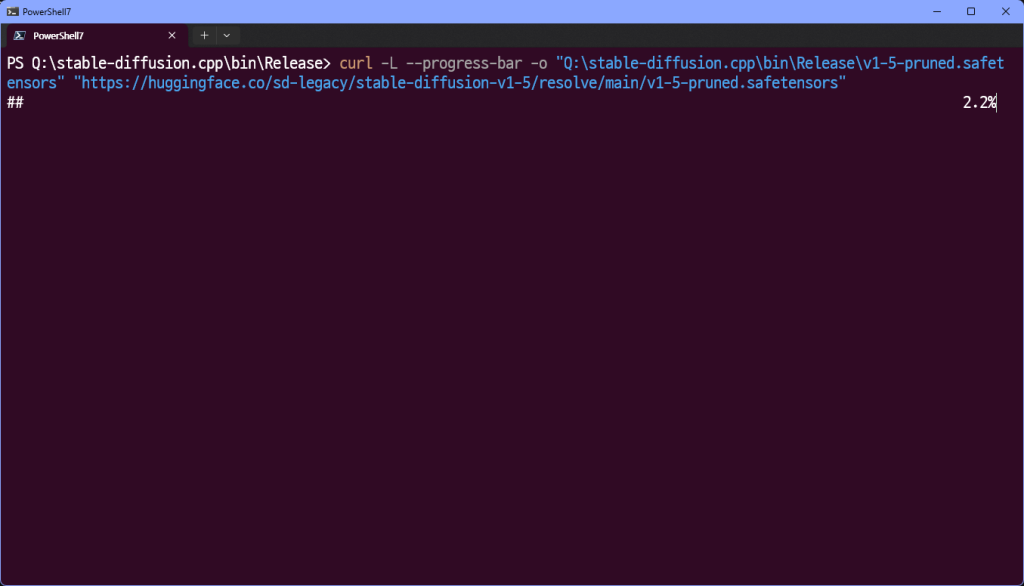
귀찮다.
다운 받는 틈에 디테일을 추가하자
.\OpenPoseDemo.exe --image_dir "Q:\pose_original\" --write_images "Q:\stable-diffusion.cpp\bin\Release\" --disable_blending --hand --face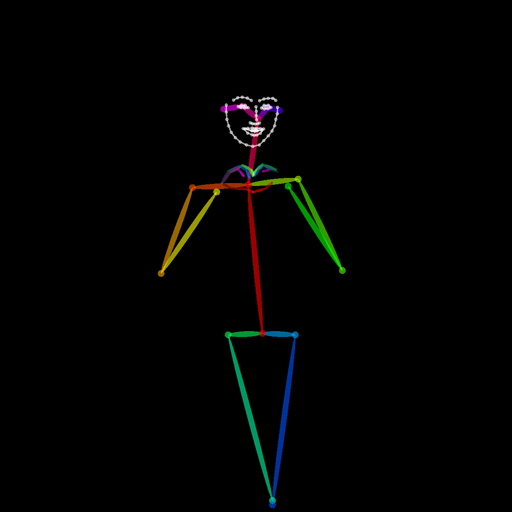
다음과 같이 face와 hand를 추가했다.
https://civitai.com/models/43331?modelVersionId=94640
상기 링크의 모델의 basemodel이 1.5이기 때문에 사용가능할 것으로 판단 상기 모델도 다운로드 해준다.